MILEAGE:
101.255 km or 62.900 mi
Date: October/November 2020
With October 2020 my black beauty Чернотa did the job and crushed the 100.000km / or 60.000mi mark. Now the time has come for some serious maintenance work after such a mileage. This is the report about that milestone-maintenance, which my trusty 690ty received …
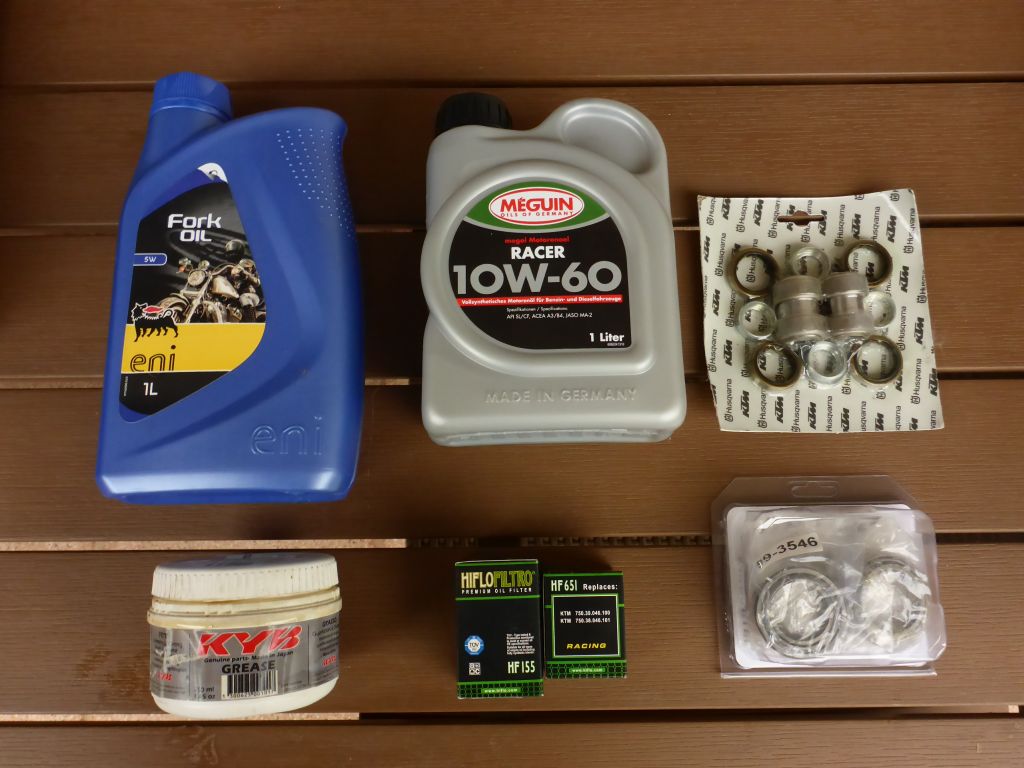
Some maintenance stuff and parts I was intending to change: Fork Oil+Fork Grease, Engine Oil + Filter, Main Swingarm Bearings and a new Stearing Head Bearing.
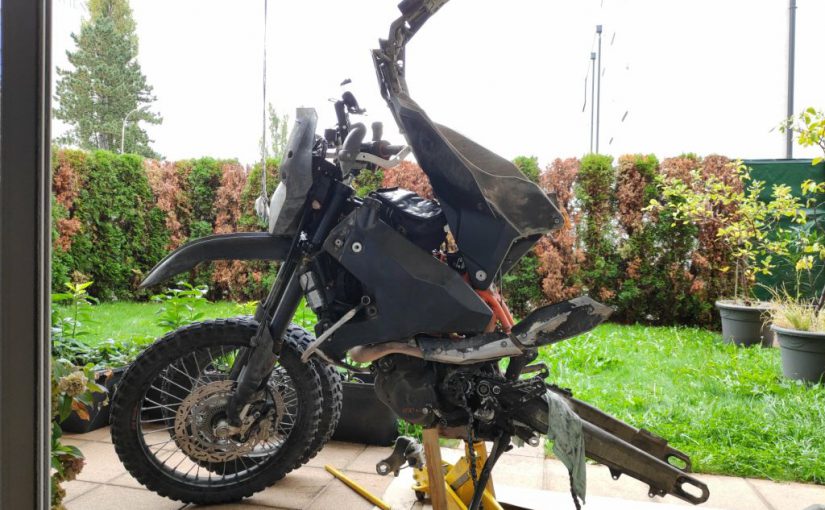
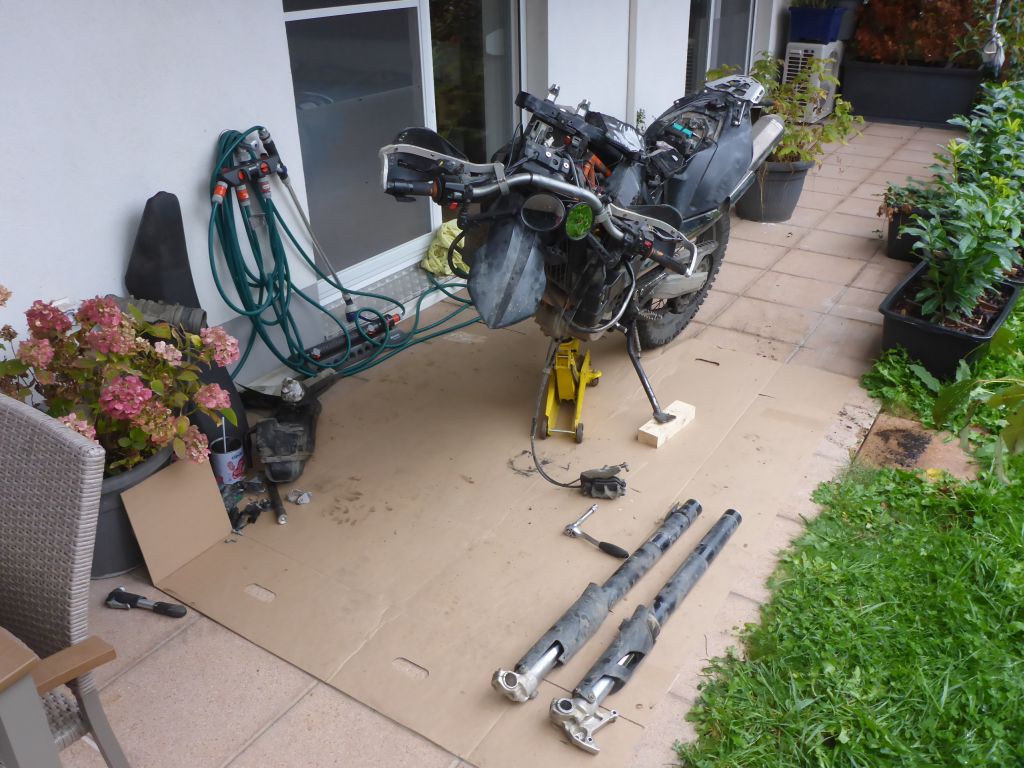
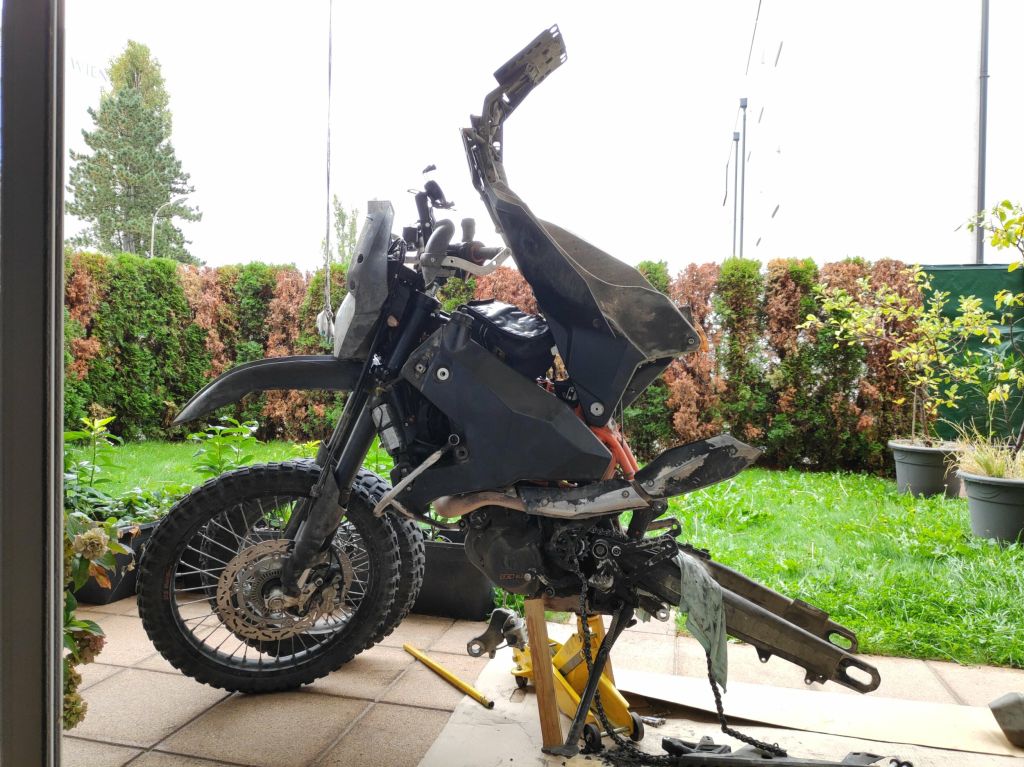
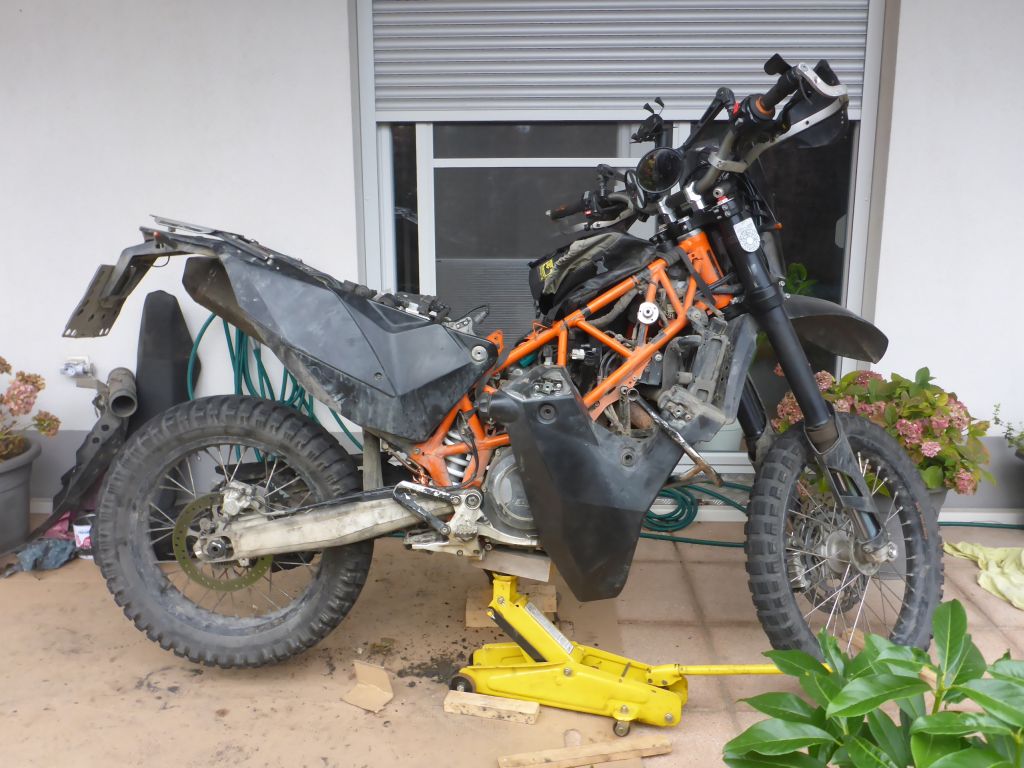
Having no garage I did what I always did when maintenance time has come: “Motorcycle-Gardening”. ^o^
After putting the Auxiliary Tanks aside and removing the valve cover, I had a closer look at the …

valve train, which is surely the weakest part of the older 690ty engines out there. The rocker arms …
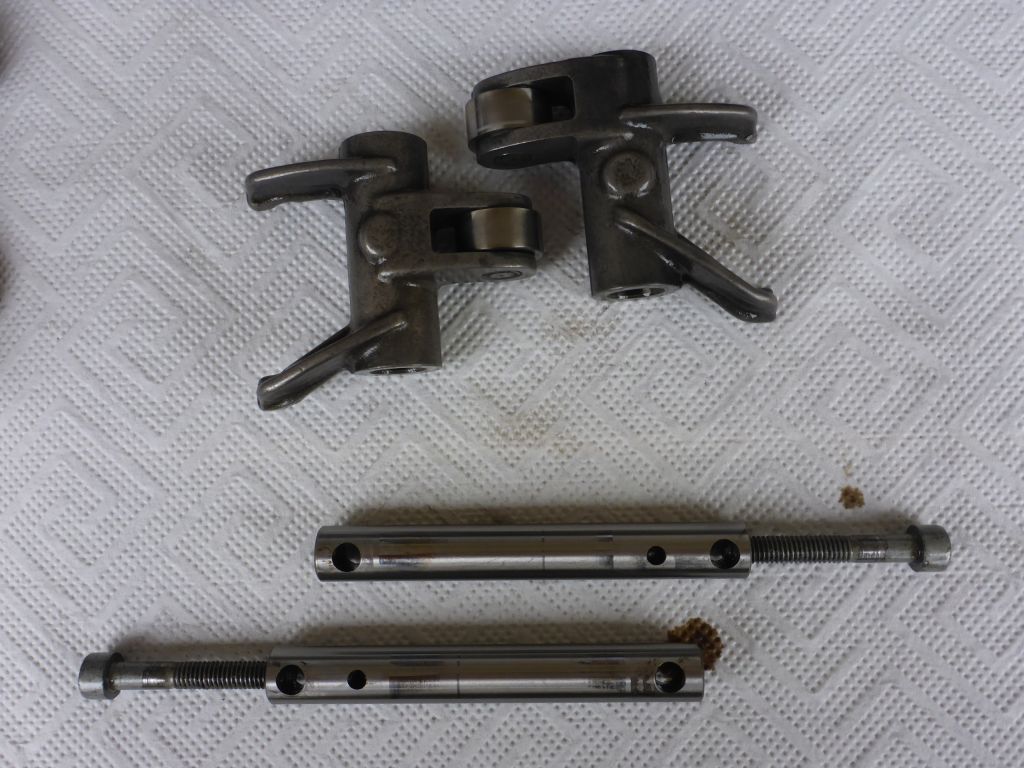
and also the rocker arm axles looked nice. That was no surprise because I changed them just about 10.000km / 6.000 mi before. The reason for that change was one axle, which had shown some serious wear after around 90.000km / 55.000mi in duty. I turned the engine …
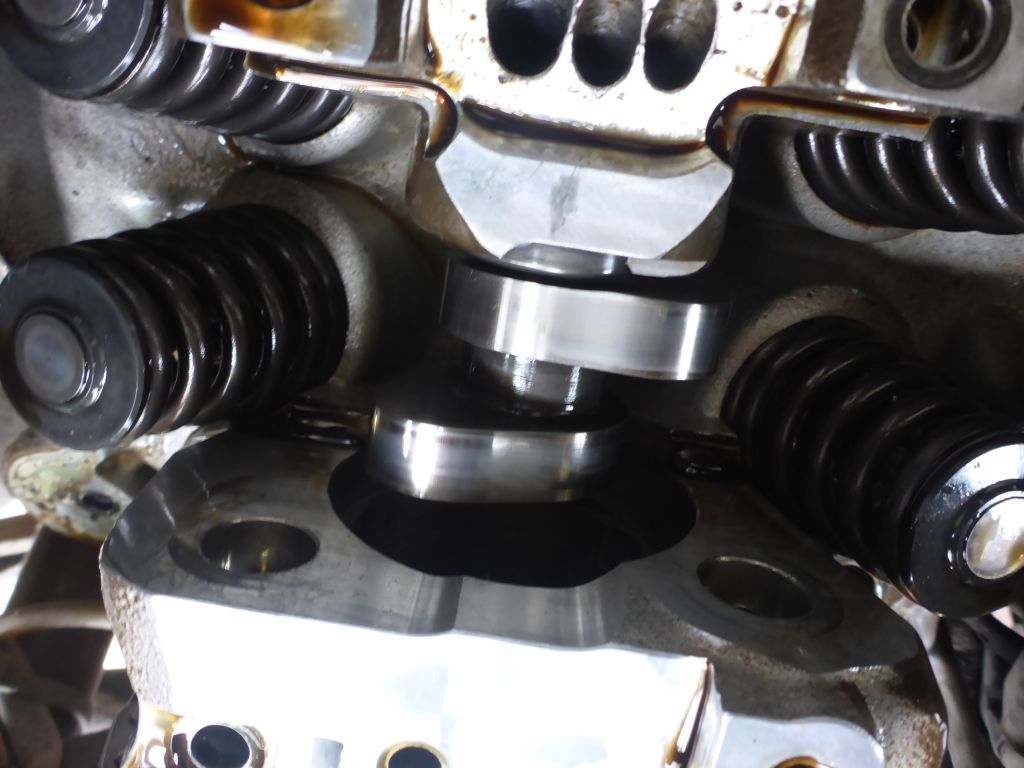
one full round forward to have a closer look at the camshaft, which looked surprisingly fine. Also the valve clearance was in spec. After checking that, I assembled the valve head. Now it was time for draining …
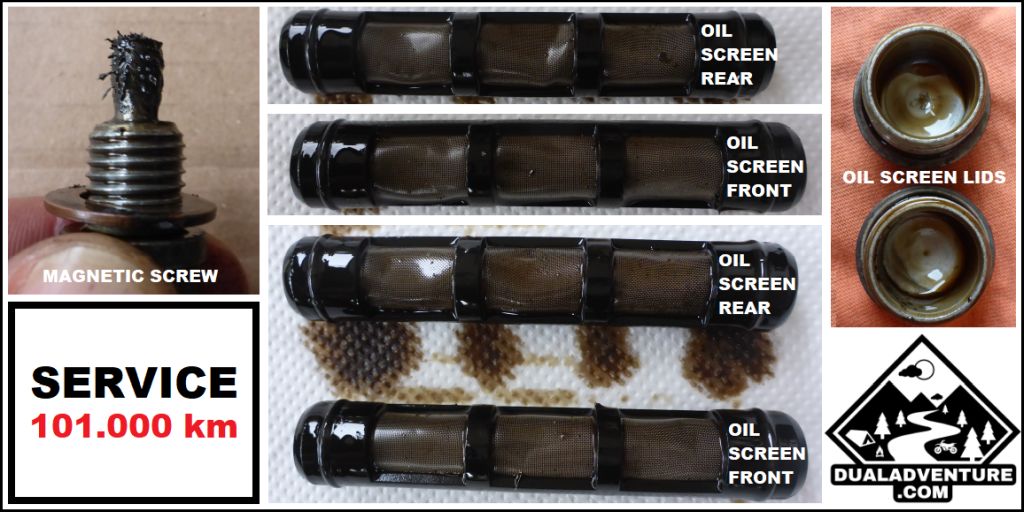
the oil. The magnetic oil draining screw, both oil screens and the oils screen lids looked ok. No big metal shapes there. Not bad for using the cheapest, specification fulfilling oil, which is available on the european market, and having that cheap oil running in the engine for about 11.000km or 6800miles since its last change!
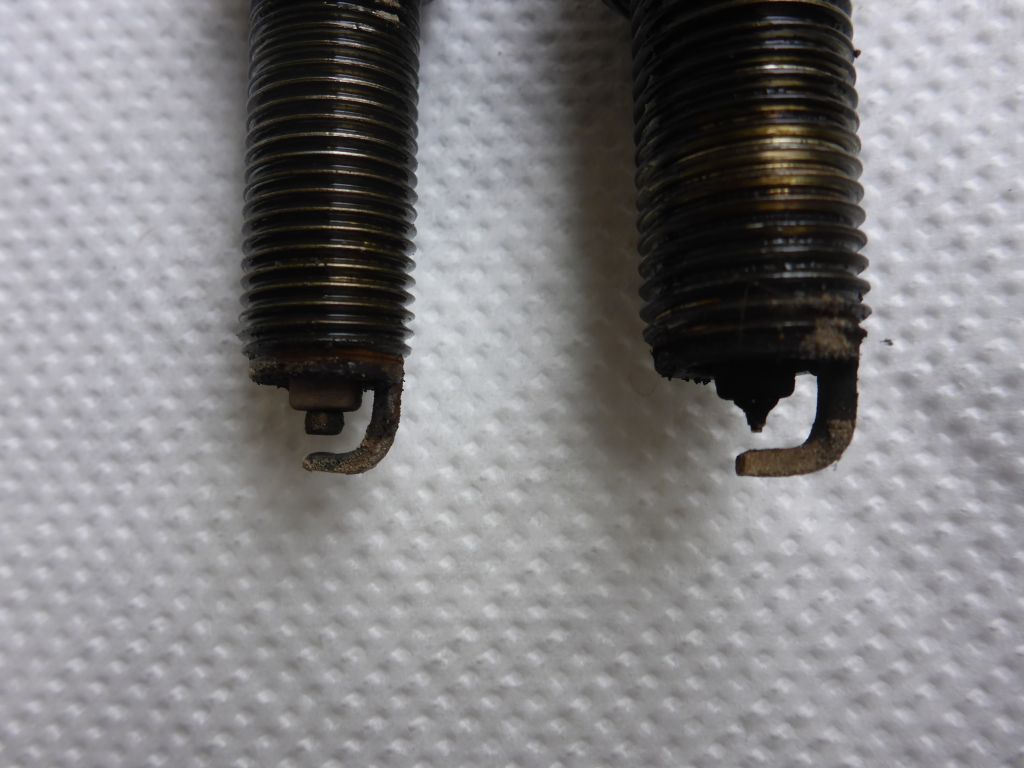
That is what spark plugs of a KTM 690ty look like after 20.000 km or 12.500 mi in duty.
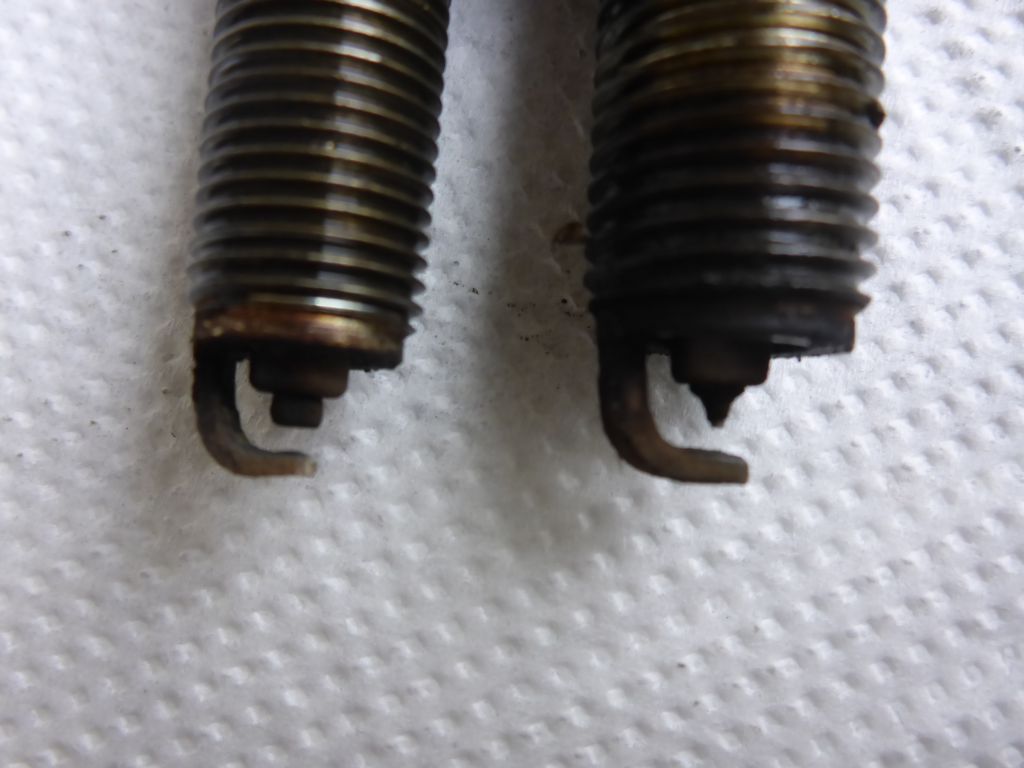
I cleaned them and adjusted the space of the electrode of the outer one a bit. This way they are good for another 20.000 km or 12.500 mi.
I know KTM recommends changing the plugs all 20.000 km or 12.000 mi, but my experience showed that this plugs easily can handle the double mileage. (Look at my 80.000km mileage maintenance report for further details).

Now it was time for digging deeper into the front. After disassembling …
the handle bar and the front dampers, I found that …
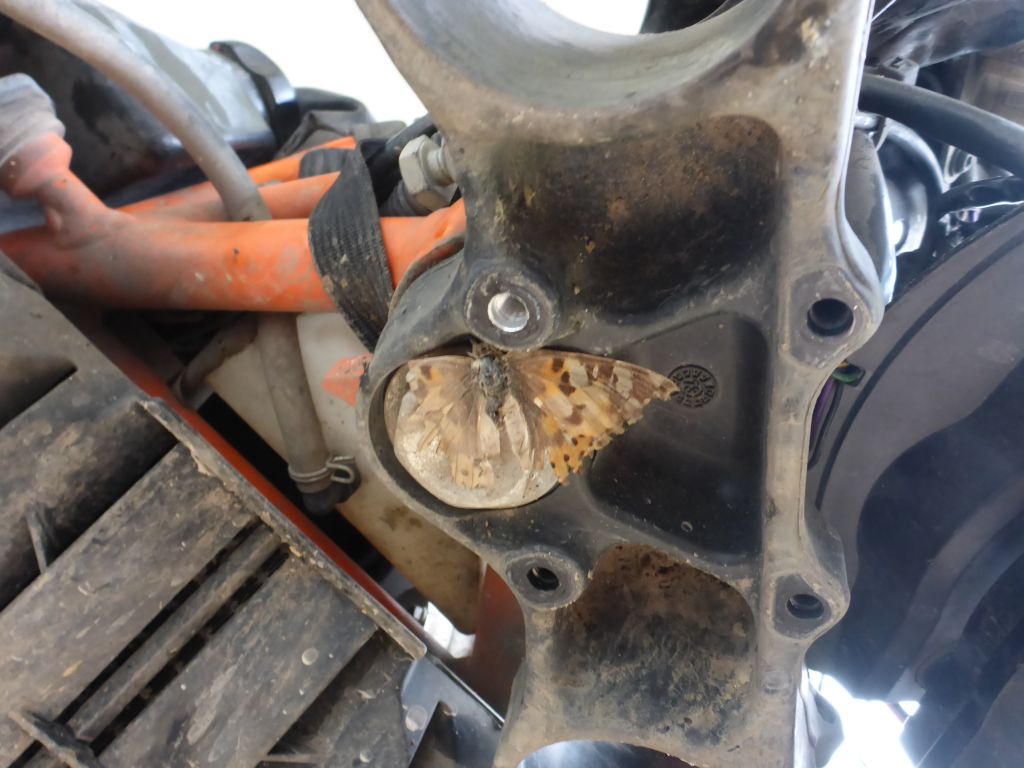
sad butterfly sticking on the bottom of the steering bridge. It was surely too late for a call of the ambulance. Sorry my little beautiful friend. :-/
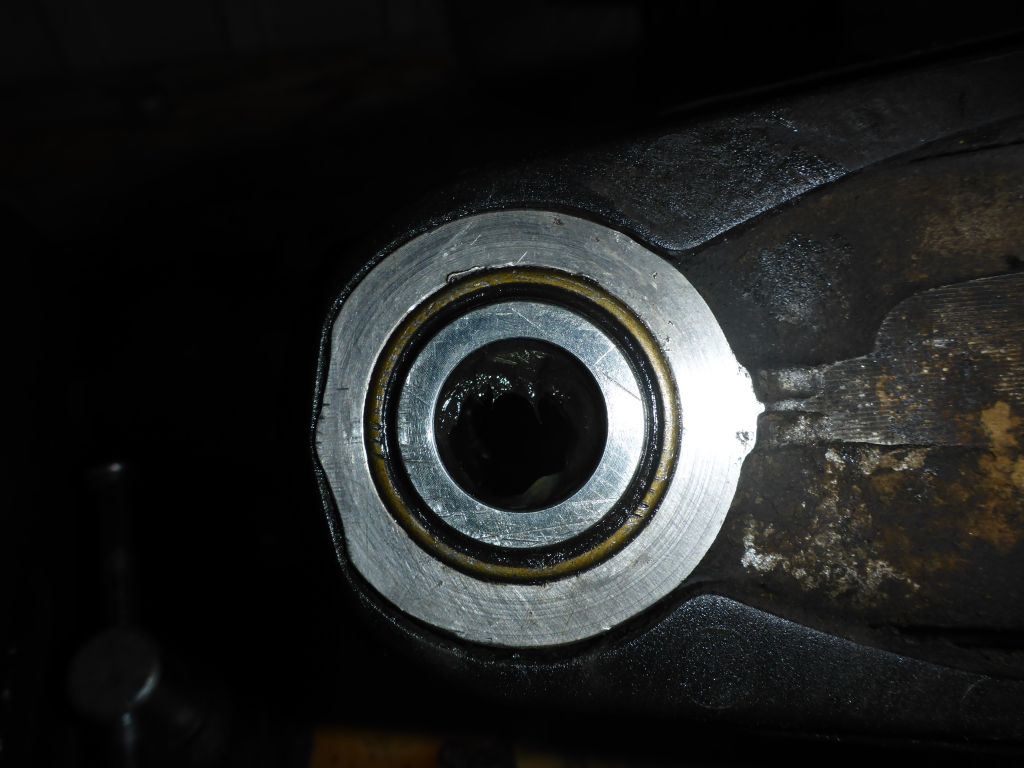
The work continued and finally the …
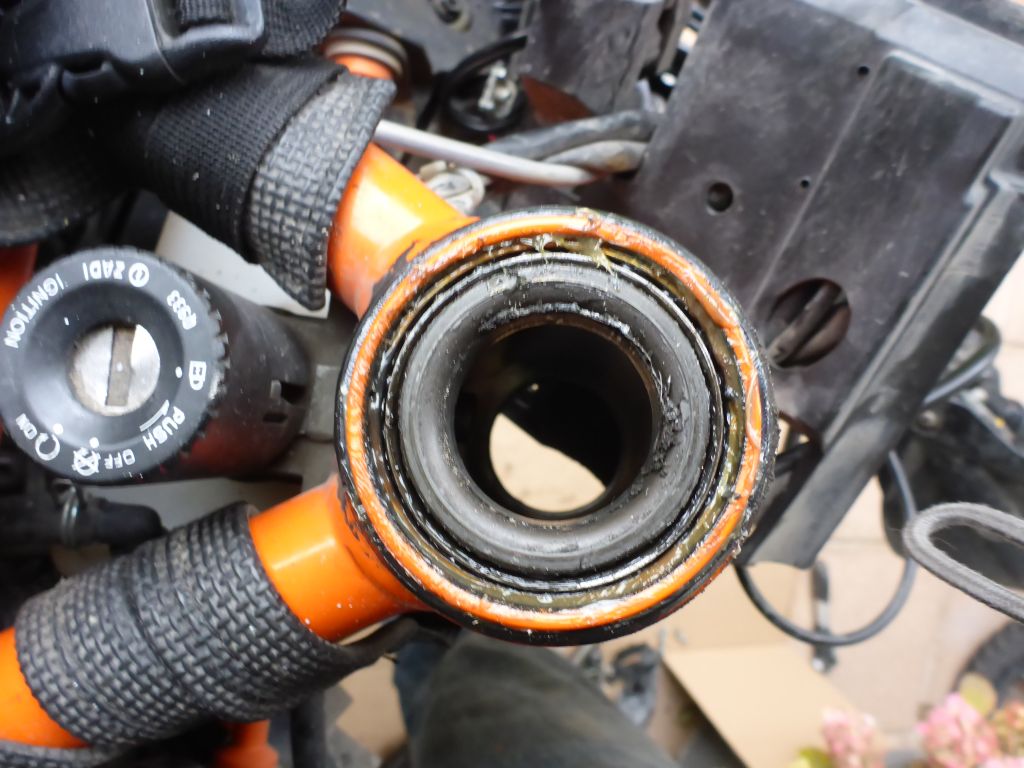
steering center bearing was …
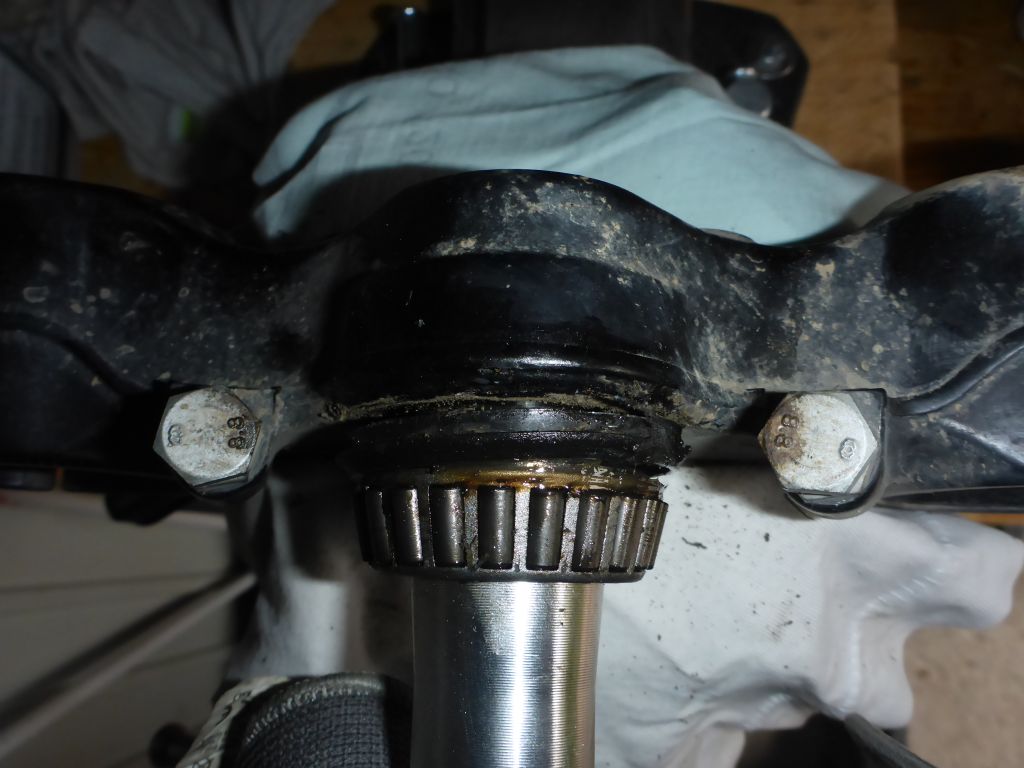
visible. I was very surprised after 100.000 km or 60.000 mi of harsh riding, seeing no rust inside that higly stressed bearing. The surprise got even bigger, when I …
saw the great condition of the lower and upper bearing shells. It would have been enough to reassemble that less worn bearings the other side round and grease them well, for getting another 50.000 km or 30.000 mi out of them. Because I already had bought the new bearings …
I swapped them with the old ones. After assembling the shells, …

the new bearing got greased …
well and the steering head of my black beauty was put back together. Next step after adjusting the clearance of the steering bearing, was to …
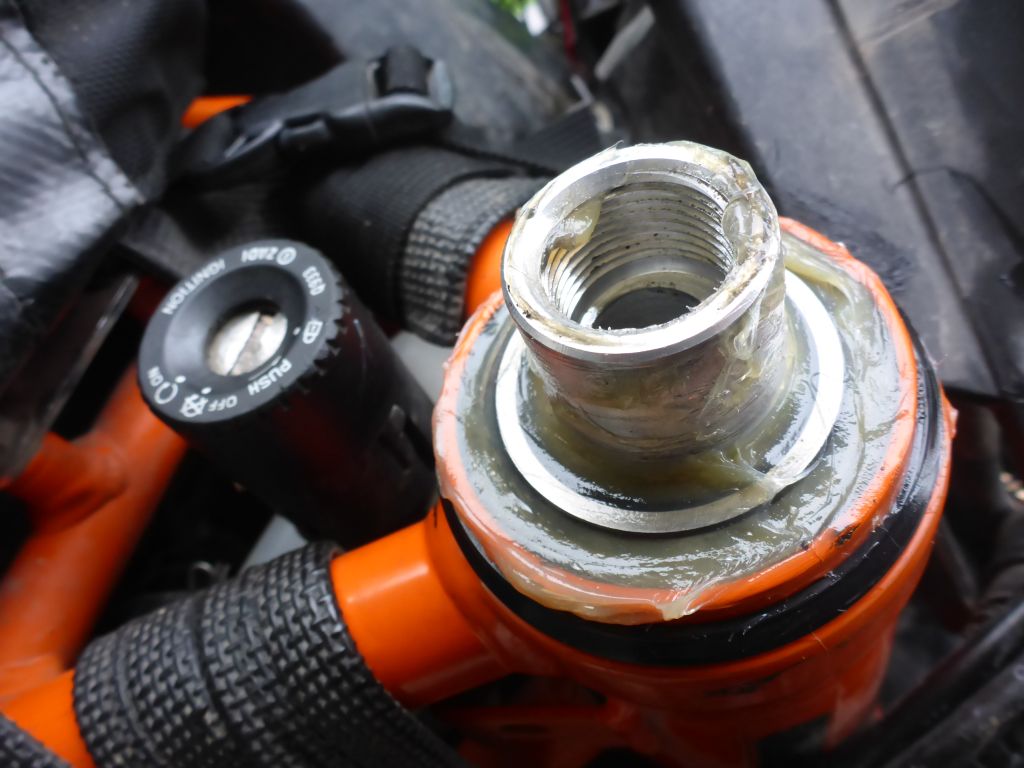
change the …
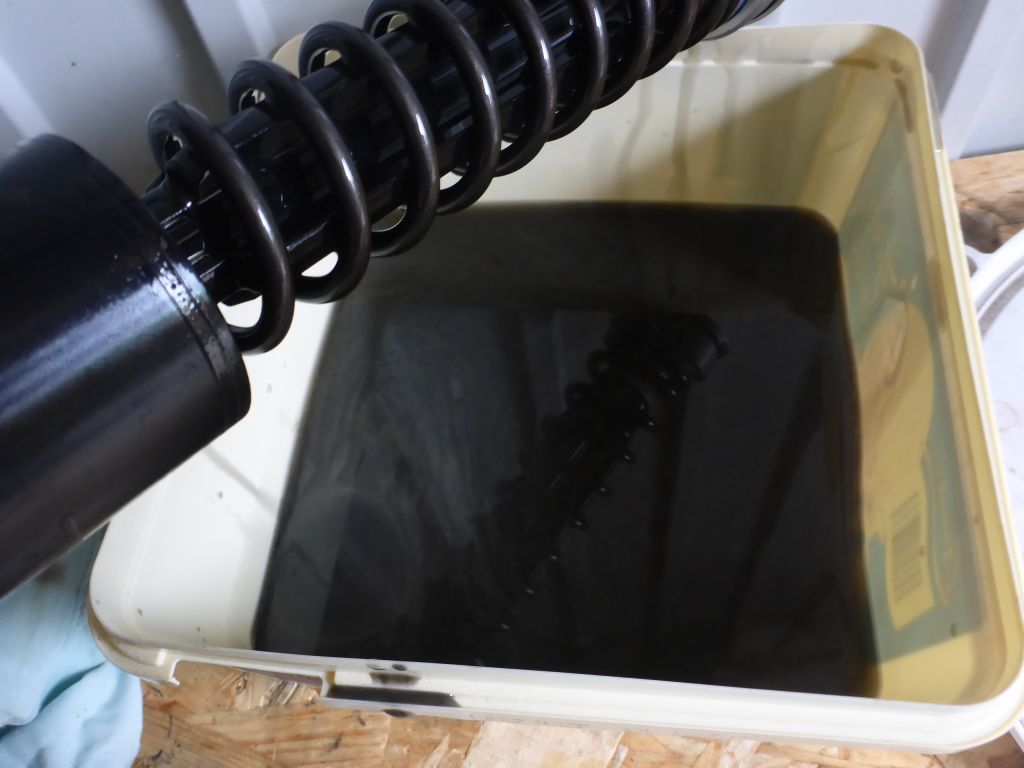
fork oil, which was after about 50.000 km or 30.000 mi in use a nice dirty-soup.
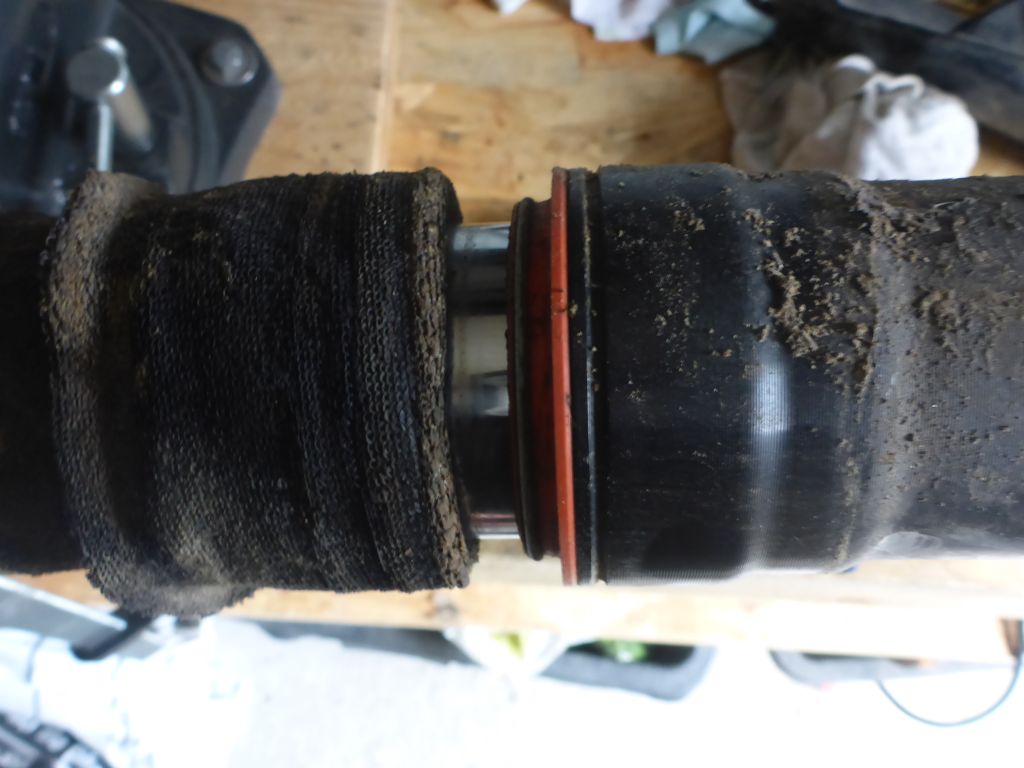
Because the fork never leaked along that distance, I decided that cleaning …
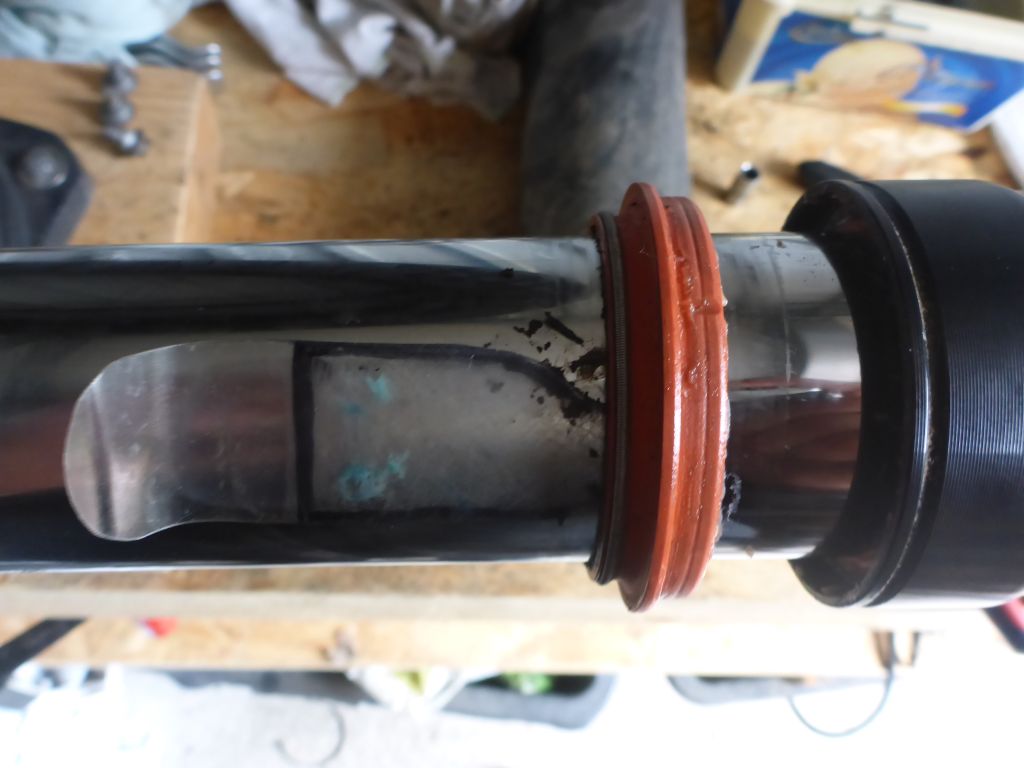
the dust gasket and …
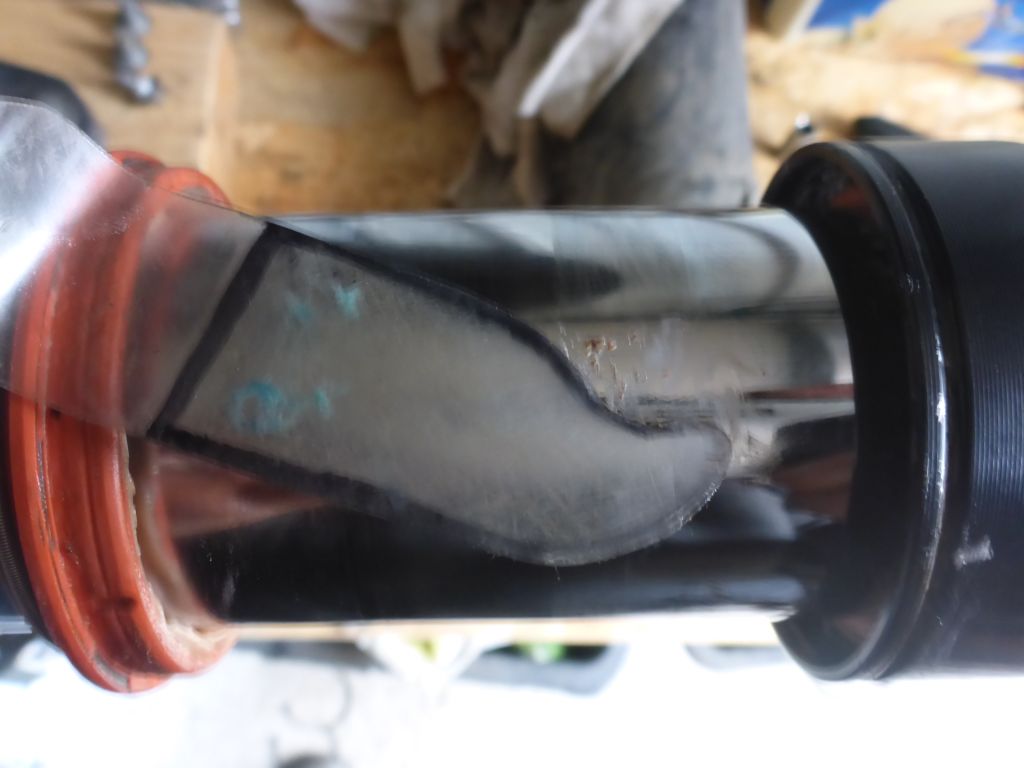
the main damper gasket with my self made fork cleaning tool has to be enough. (Interested in how to make your own fork cleaning tool out of a plastic bottle? Look at this nice post from another blogger: CLICK)
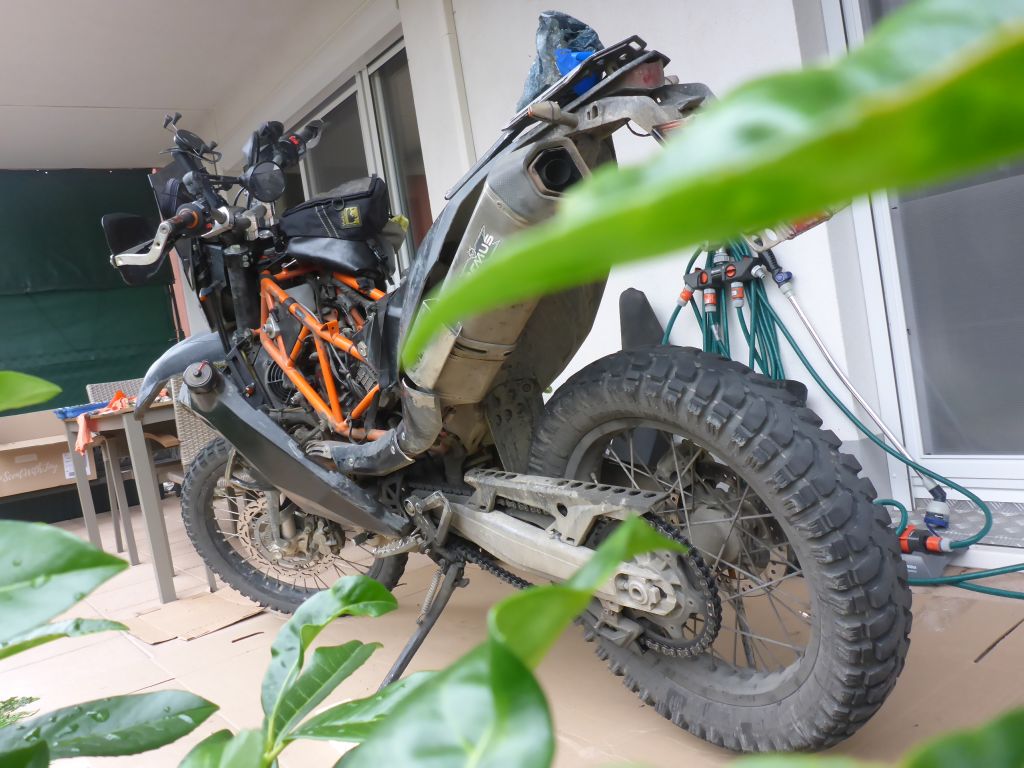
Now after the front end maintenance was finished, it was time for some work at the swing arm and the rear damper, which I never touched since owning this motorcycle.
A little mistake happened to me while trying to get access to the rear shock: Because I forgot to disconnect the fuel line for the front tanks, I snapped it right at the additional fuel filter. Besides a bit of fuel on the cardboard and the destroyed fuel filter nothing serious.
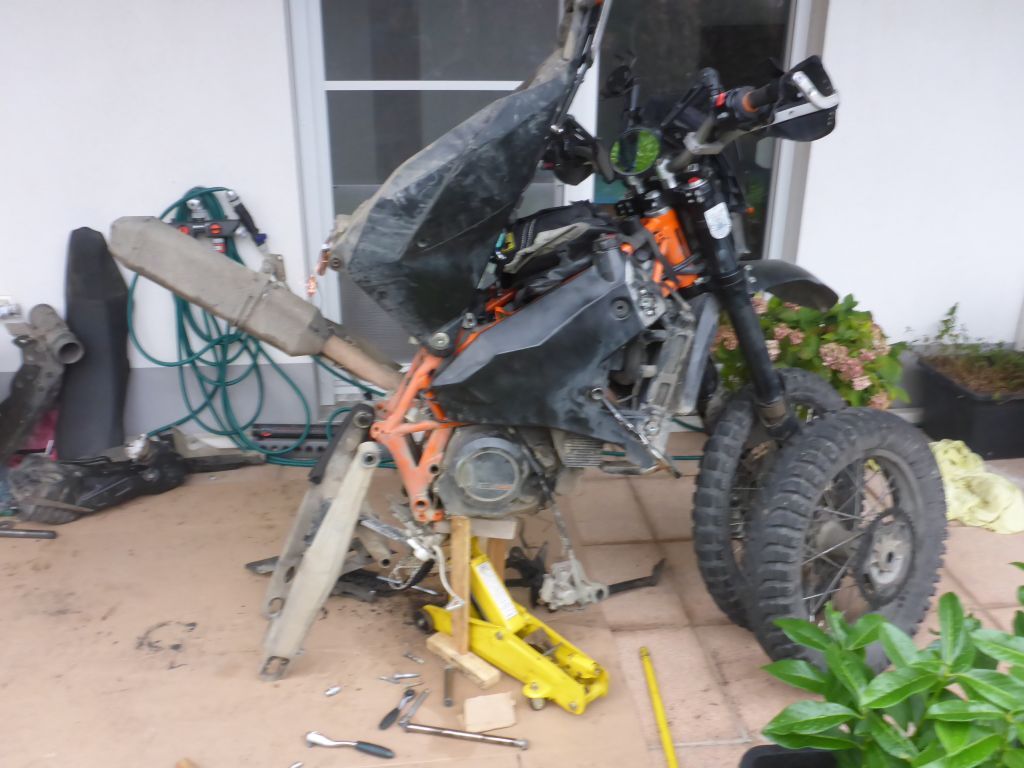
Finally, the rear tank got lifted. Now it was easy to get the rear shock out of the frame and also dismounting the swing arm was an easy job. (besides the adventurous wiggling lifting construction o_O )
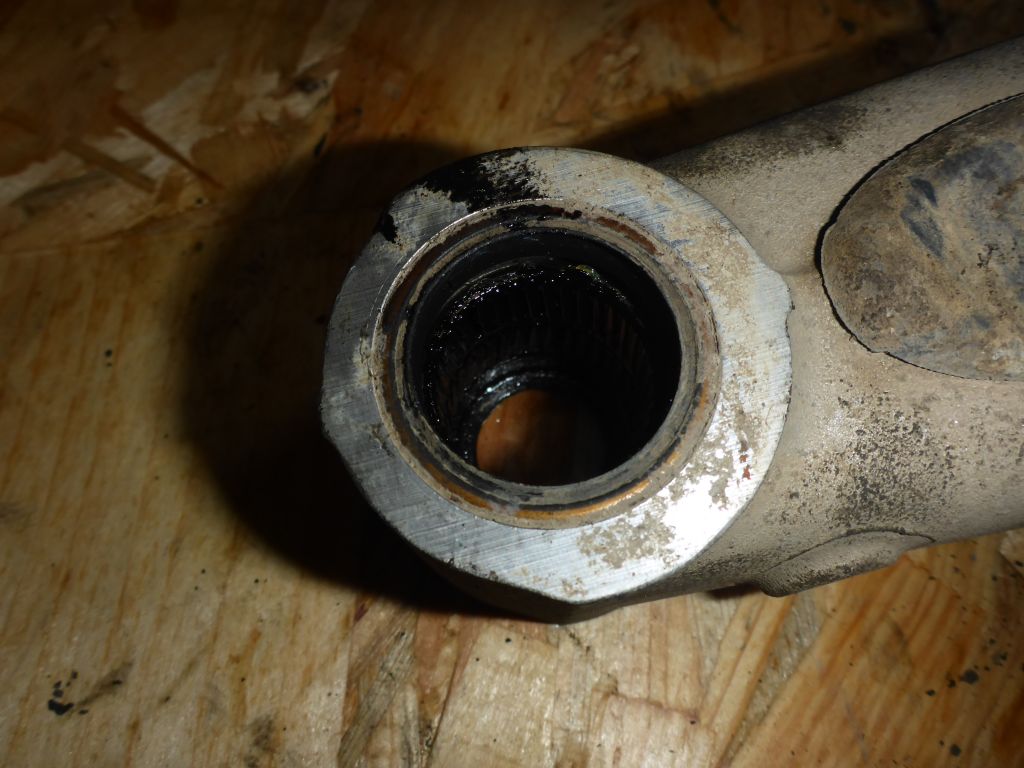
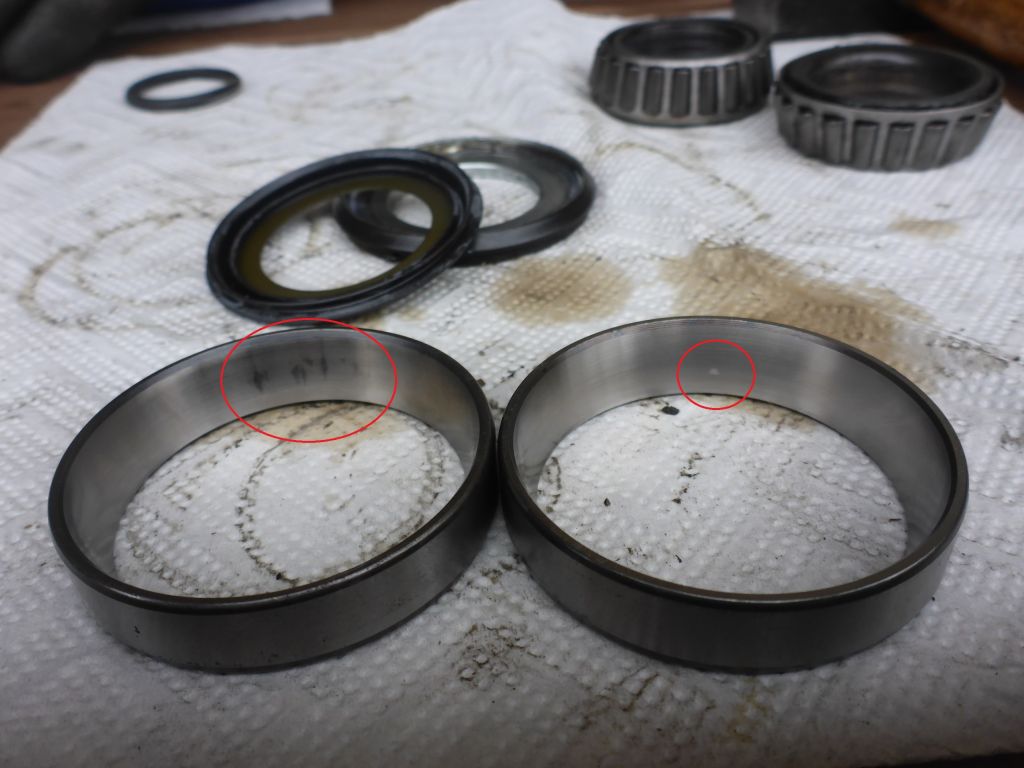
Both bearing of the swing arm surely got better times. They obviously sucked up some moisture and it was now a good moment for changing …
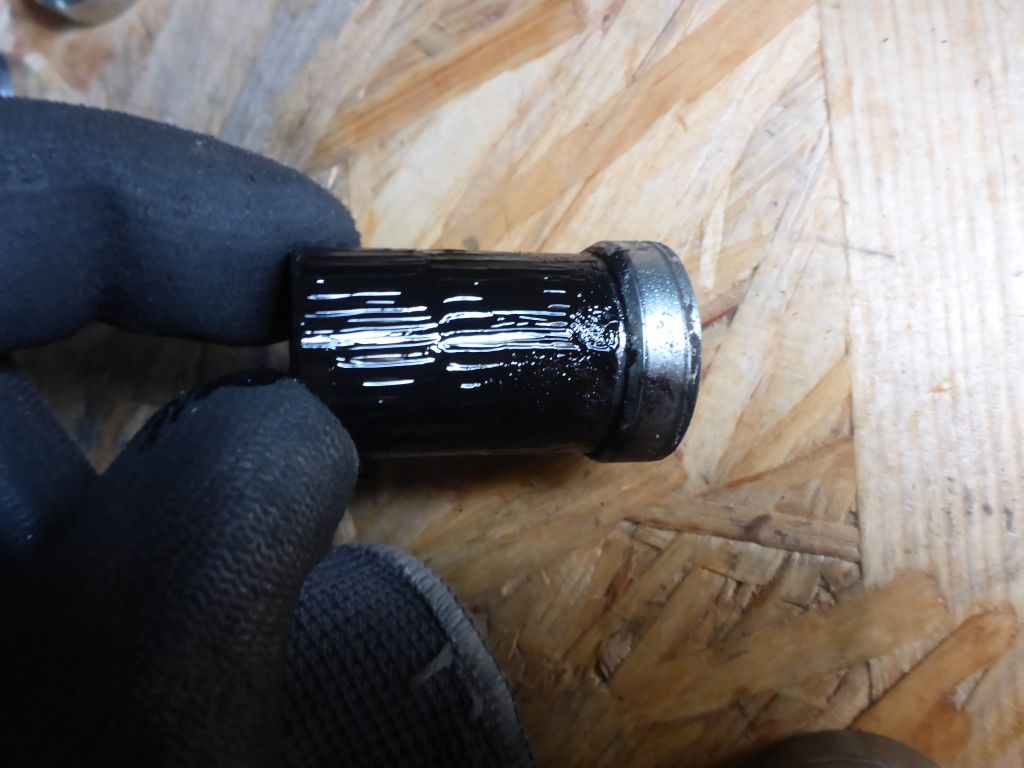
them. The bearing has already left some gentle marks on its axle (I have made no picture of that). I hammered the old bearings out and …
replaced them both sides with the ordered new ones.
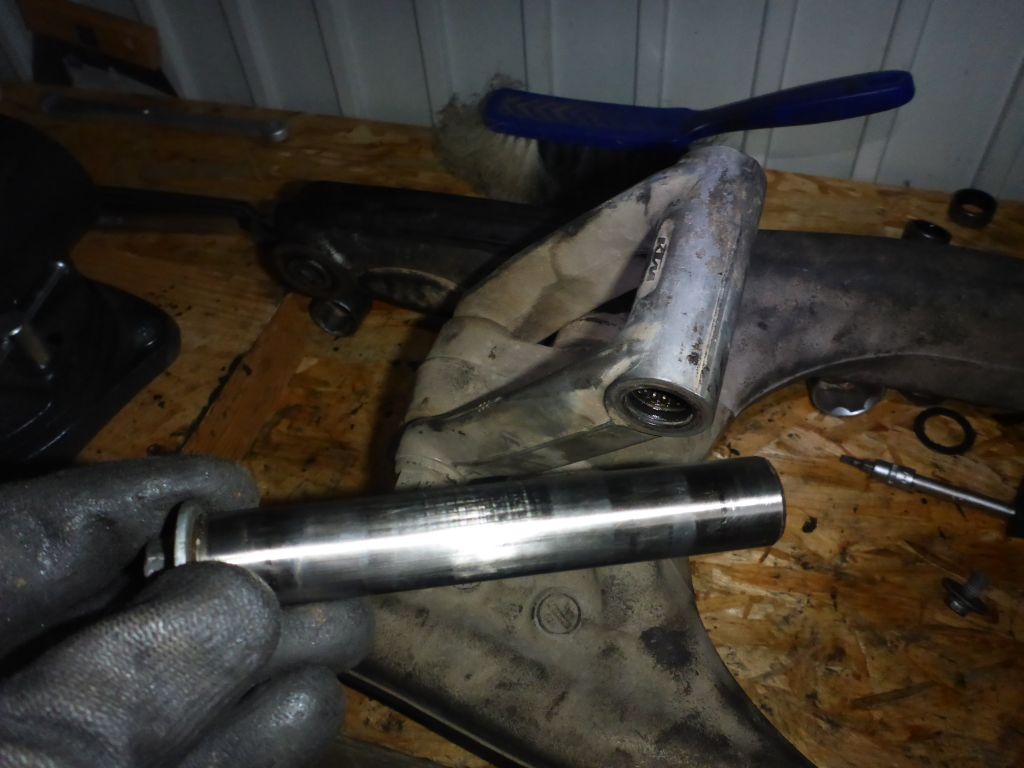
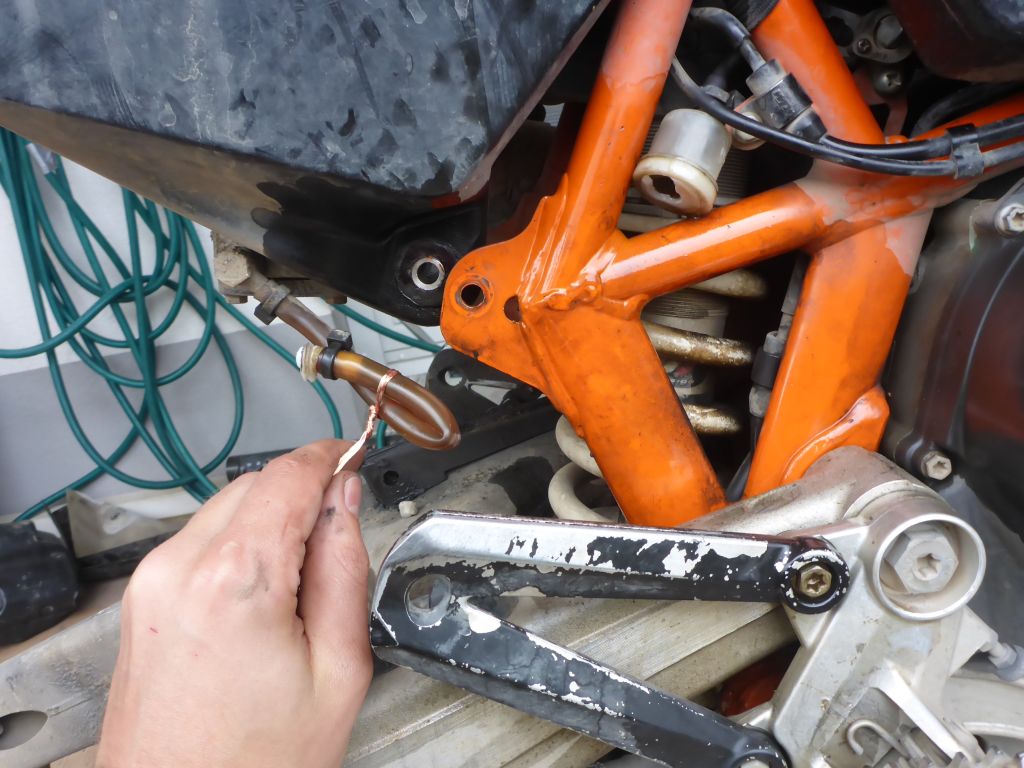
After both swing arm bearings had been swapped, I made a closer look at the linkage and its pull rod. The pull-rod-axle was in a good shape. After cleaning, a good amount of fresh grease will do the job til the next maintenance there. The other bearings of the linkage had been in a very bad shape, but later more about that … .
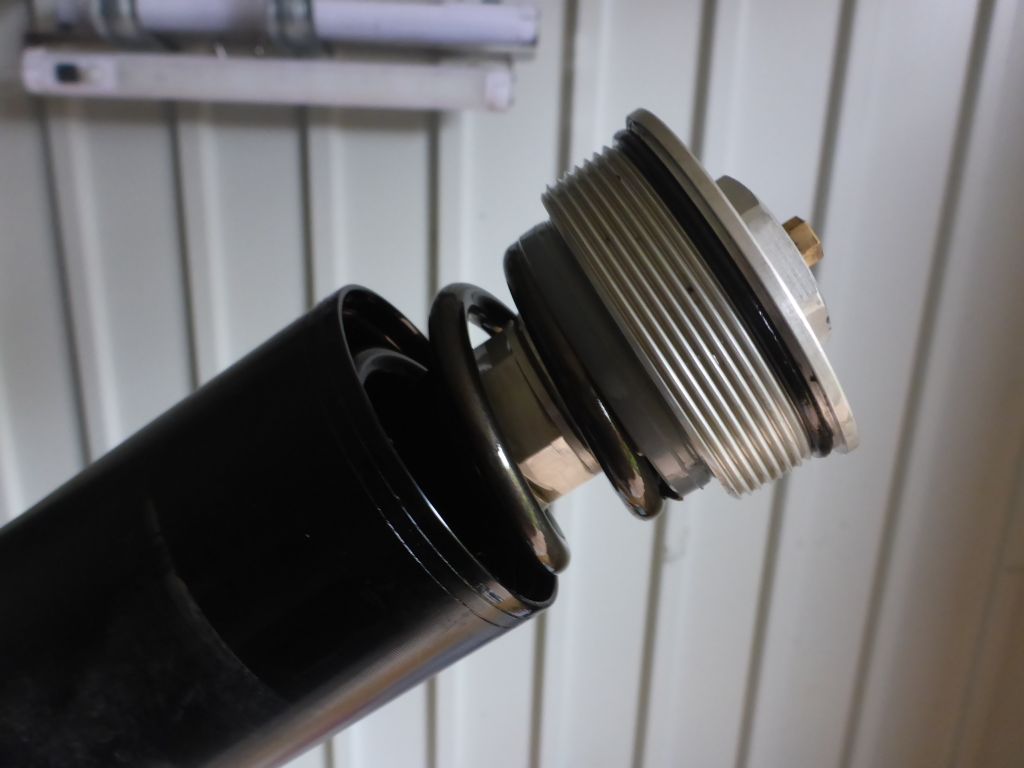
First I had a closer look at the rear shock itself:
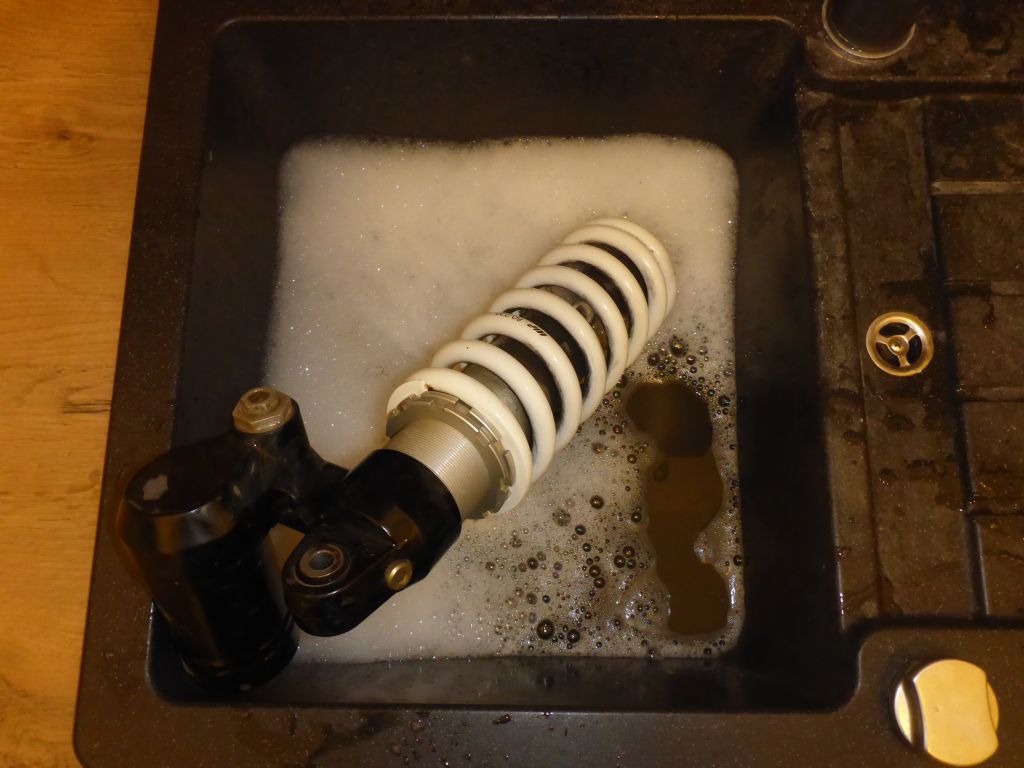
After washing it properly I found out that …
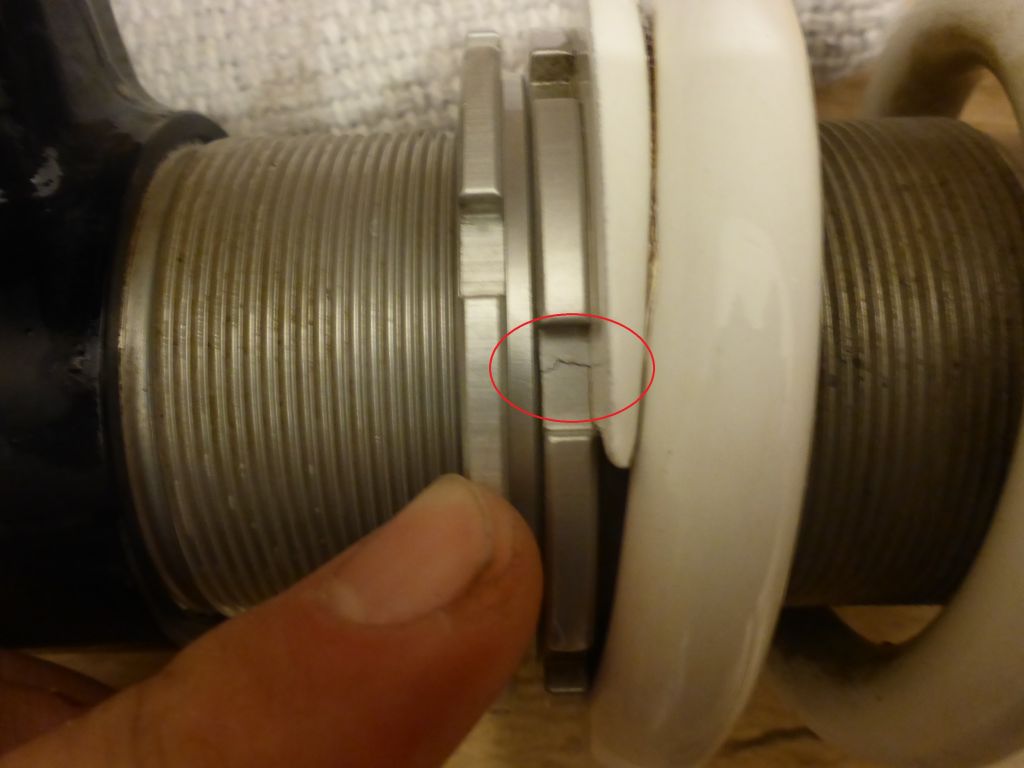
one tention nut had a crack. Looks like I pushed the old lady a bit too hard over the humps and bumps outta there … :-P.
Whatever! Either way it was time for a rebuilt!
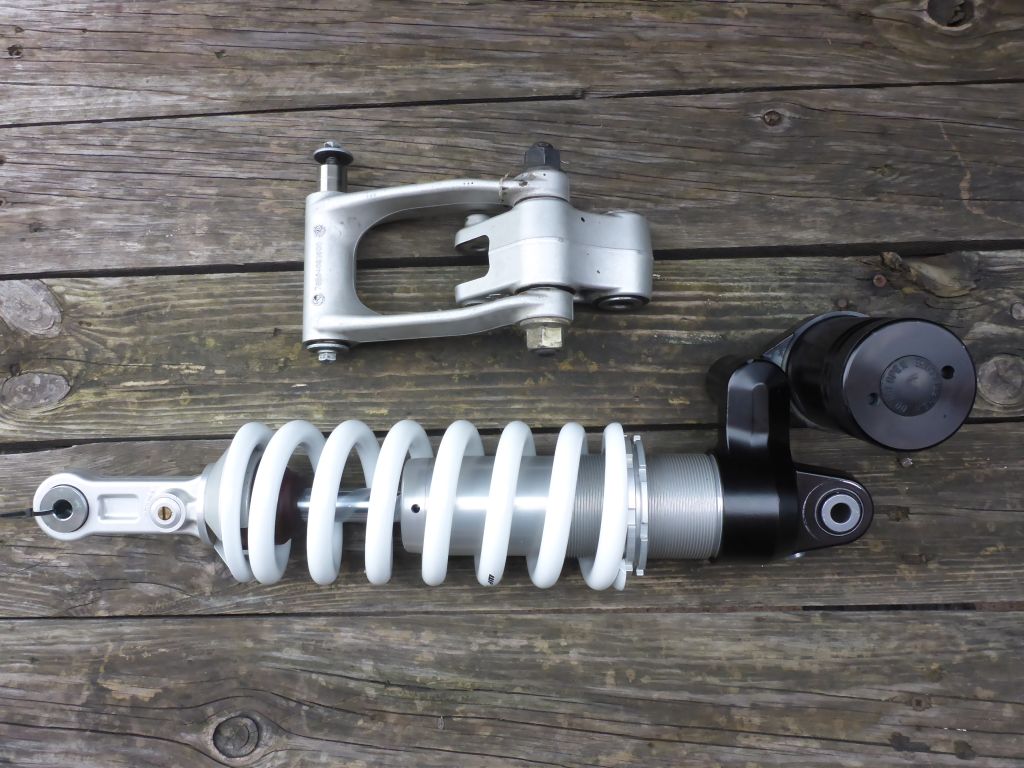
So I packed the rear shock well and sent it to a suspension specialist in Germany for its first real maintenance. At this opportunity I also ordered a stiffer spring for being prepared when riding with some additional luggage.
It took nearly a month …
of “wobbly waiting” …
till the shock came back. Nearly the same time a cheap used linkage-leverage arrived at my home.
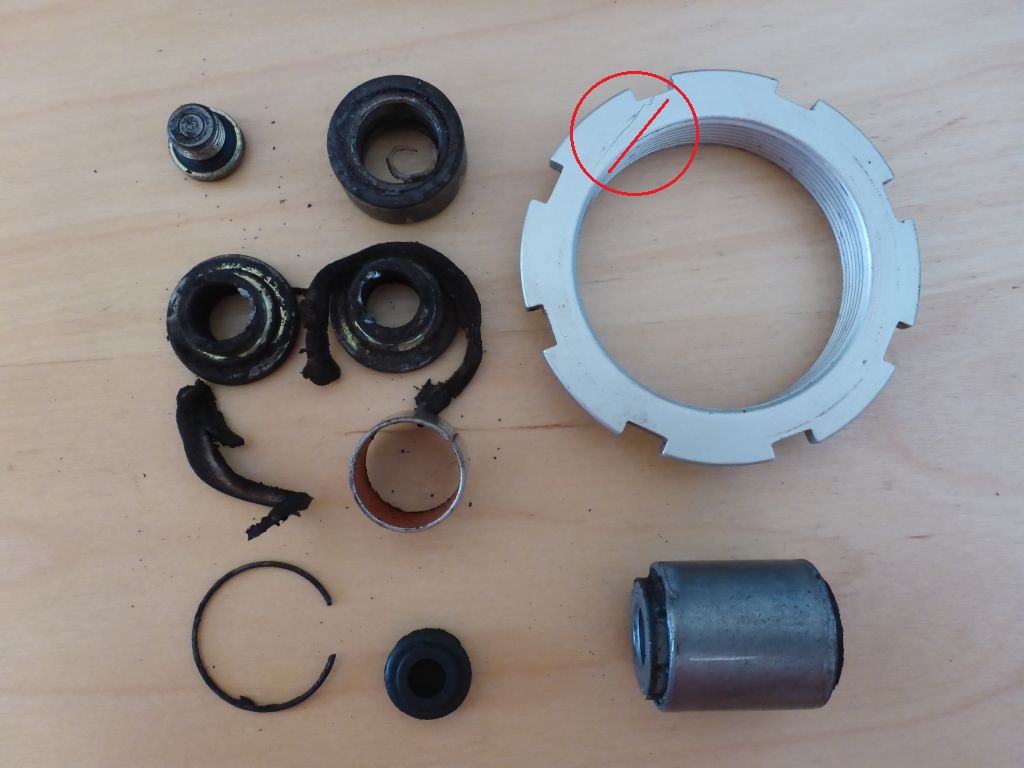
The guts of the rear shock, which had been also sent back to me, told their own story. The lower bearing was obviously close before collapsing and the before mentioned crack at the big nut was longer than estimated. Now it was time for having an eye at the used linkeage, which I bought for half the price of a single replacement bearing would have cost:
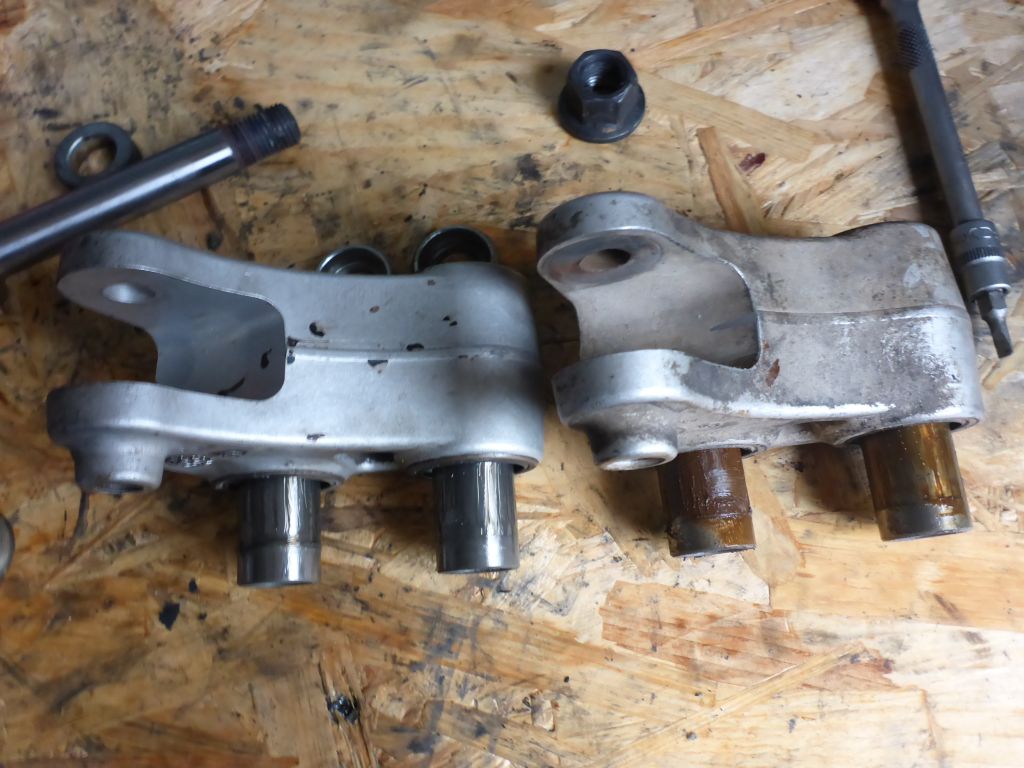
The left one is the used one which I bought vs. the old one, on the right hand side, which was never maintained along 100.000 km / 60.000 mi. What a difference. Especially the bearing axles had been …
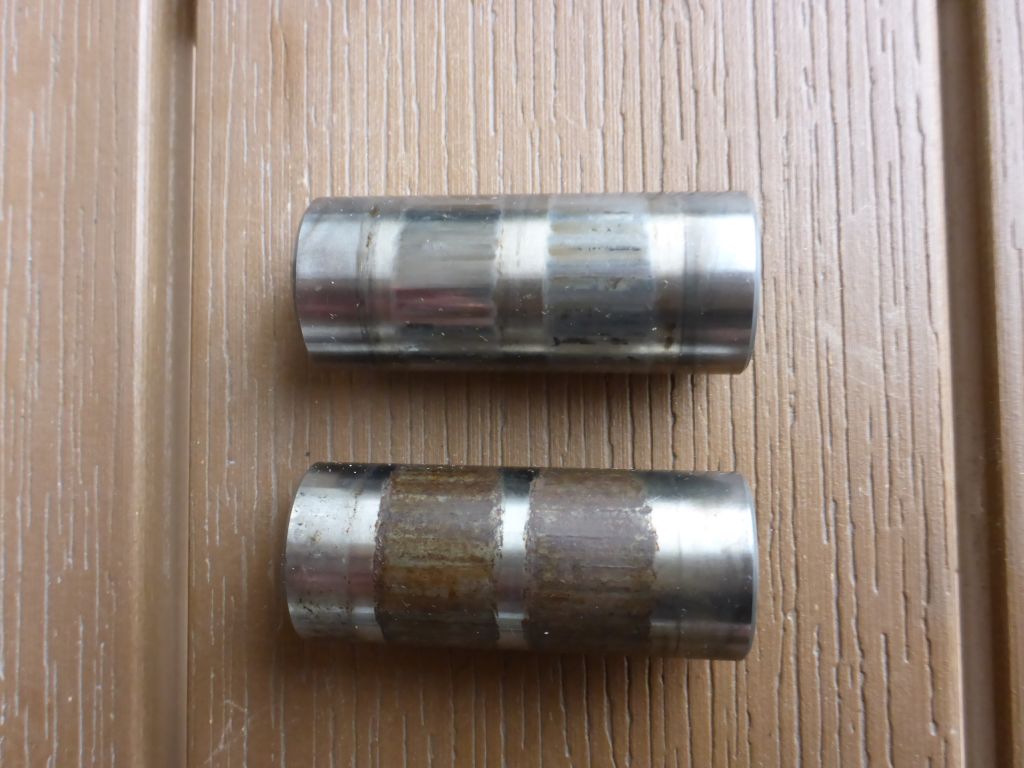
worn to the max along the last five years! It was surely the right moment for a renewal. So I greased the cheap bought used linkeage bearings properly and …
put Чернотas rear end together. Because the …
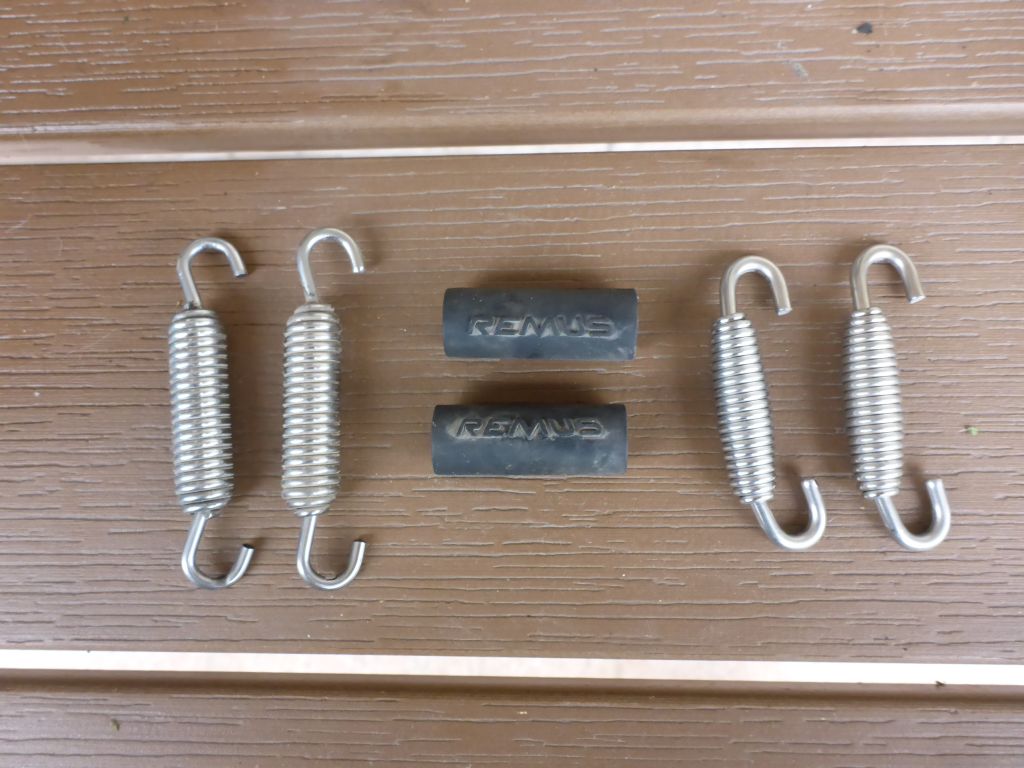
springs of the Remus Exhaust went a bit slack, it was time for new ones. When I was mounting the last bit to Чернотa, which was its seat, I recognized …
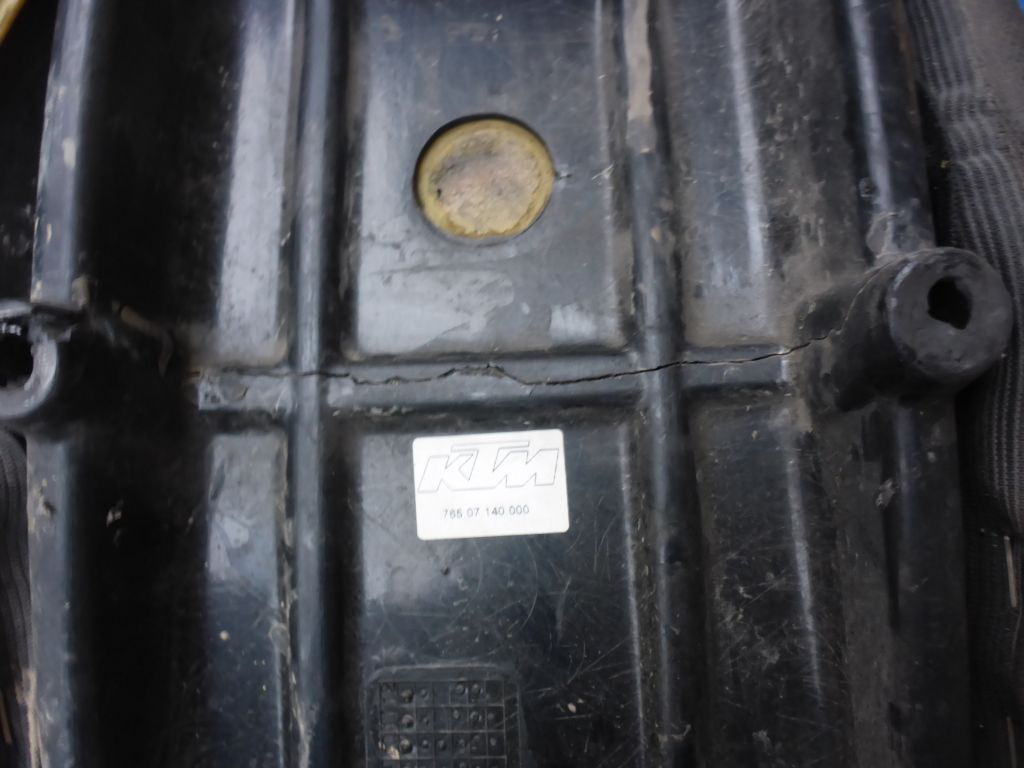
a long crack on the platic frame! It went across the seat right in its middle. The seat was still stiff enough for riding. In the meanwhile I hope to get a cheap used replacement part.
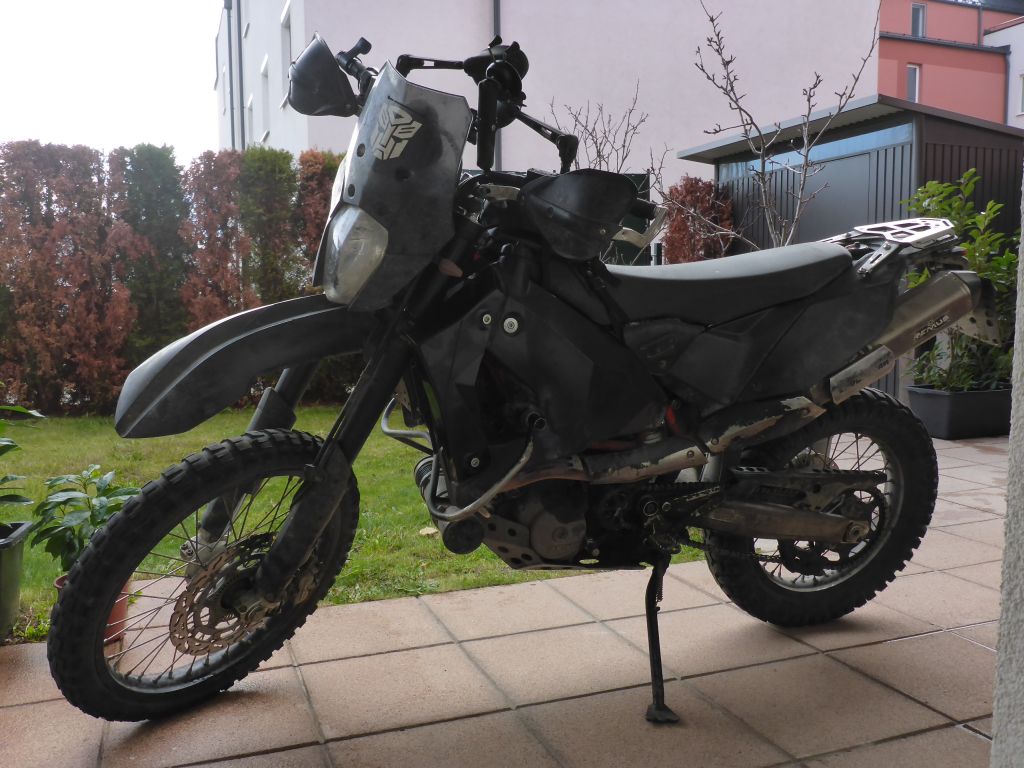
After nearly 6 weeks of maintenance work/waiting my black beauty was now back in the game!
The first ride with the new bearings and maintained suspension let me think that I was riding a completely other bike. The bike is now feelable more accurate and stable whilst riding through the curves. Its fork reacts now way more sensitive to irregularities and the rear shock is feelable doing a better job. May a bit too much payload for riding without additional luggage, but before changing it, I will have a few more rides with this setting … .
My black beauty Чернотa is now again ready for a few more other dual-sport-adventures!!!
A total write-up about all the modifications done to my 690ty you will find at:
My KTM 690 Enduro R – 2014: Adventure Optimizations and Modifications
A very detailed maintenance list is available via:
My KTM 690 Enduro R – 2014: Detailed Maintenance List
Servus,
Tom.
Interested in my doings? Than feel free to join my social media channels for further updates! ➡